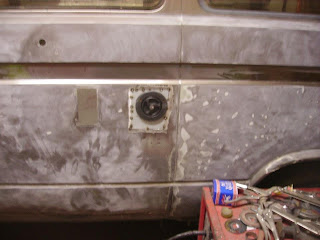
While flatting back the nearside and prepping ready for painting. The water filler point and electric socket are removed.
This is the hole for the water filler, as you can see it isn't the nicest. You can see the rot
All the rot has now been cut away ready for a new piece
New one made up and tacked in place
Trial fitting of the actual filler. Hole was a good size and a snug fit
Water filler repaired, dressed and filler cap temporary fixed it. All ready for spraying


No comments:
Post a Comment